All products are selected by our editorial team for quality. If you buy through our links, we may earn a small commission at no extra cost to you.
This homemade buttermilk bread recipe is a delightful blend of simplicity and rich flavor, making it a standout choice for bakers of all levels.
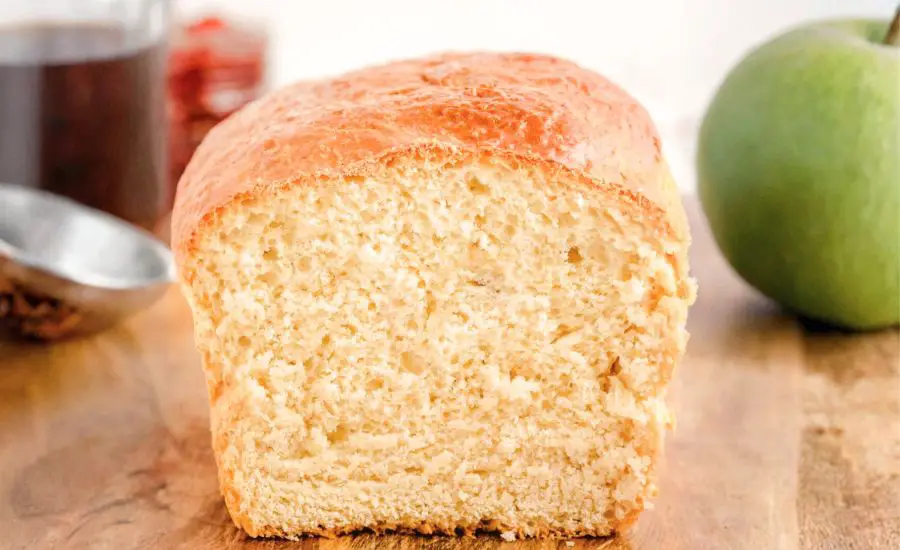
The use of buttermilk lends a tender crumb and subtle tang that sets it apart from ordinary white bread.
Beyond taste, this loaf provides a moderate amount of protein and fiber from the flour, along with healthy fats from melted butter, making it a nourishing option for daily meals.
Low in saturated fat and containing minimal sugar, it’s an excellent bread for those mindful of balanced nutrition.
Its straightforward process—whether made by hand or with a mixer—makes it a perfect option for busy home cooks who want fresh bread without fuss.

This bread also keeps well, making it ideal for meal prep or weekend baking to enjoy all week long.
Must-Have Tools for Perfect Results
Stand Mixer (e.g., KitchenAid Artisan)
Perfect for thoroughly mixing and kneading dough, a stand mixer saves time and effort, ensuring the gluten develops properly for that soft, elastic bread texture. It’s a versatile kitchen staple for all your baking and cooking needs.
Loaf Pan (9×5 inch)
Essential for shaping and baking your bread loaf, this pan ensures even cooking and gives your bread a classic shape. It’s also great for meatloaves and casseroles, making it a multi-purpose tool.
Digital Kitchen Thermometer
While optional, it helps verify the dough rises in the ideal temperature range and the bread’s internal temperature during baking, guaranteeing perfect results every time.
Mixing Bowls
Sturdy, large mixing bowls are necessary for combining ingredients and proofing dough. Opt for stainless steel or glass bowls for durability and easy cleaning.
Cooling Rack
A wire cooling rack lets your bread cool evenly without getting soggy on the bottom, preserving the crust’s crispness and texture.

homemade buttermilk bread
Equipment
- 1 large mixing bowl
- 1 small mixing bowl
- Stand mixer with dough hook attachment (optional)
- 9×5-inch loaf pan
- Kitchen towel or plastic wrap
- Cooling Rack
Ingredients
- 1½ cups buttermilk can substitute milk + lemon juice
- 2 tablespoons melted butter
- 2 tablespoons sugar
- 1 teaspoon salt
- 3½ cups all-purpose or bread flour
- 1 tablespoon active dry yeast
Instructions
- Prepare the Buttermilk Mixture: Begin by measuring 1½ cups of buttermilk and pouring it into a large mixing bowl. If you don’t have buttermilk, create a substitute by adding 1½ tablespoons of lemon juice or white vinegar to regular milk and let it sit for 5 minutes until it thickens slightly. To the buttermilk, add 2 tablespoons of melted butter—ensure it’s not too hot to avoid cooking the yeast later—and 2 tablespoons of sugar. Whisk these ingredients together gently until the sugar dissolves and the mixture is smooth. This liquid base will provide moisture and tang, creating the bread’s tender texture and rich flavor.
- Combine Dry Ingredients Thoroughly: In a separate medium-sized bowl, measure out 3½ cups of all-purpose or bread flour, depending on your preference. Add 1 teaspoon of salt for balanced seasoning and 1 tablespoon of active dry yeast for leavening. Whisk these dry ingredients together well to ensure even distribution of the yeast and salt throughout the flour. This step helps activate the yeast properly and guarantees that your bread rises evenly with consistent flavor.
- Mix Wet and Dry Ingredients Together: Slowly add the dry flour mixture into the bowl containing your buttermilk mixture. Using a sturdy wooden spoon, dough scraper, or a stand mixer fitted with a dough hook, start combining the ingredients gradually. Mix just until all the flour is incorporated and you have a rough dough. At this point, the dough might seem a little sticky or crumbly; if it appears too dry, add an extra splash (about a tablespoon) of buttermilk to bring the dough to the right consistency. Aim for a slightly tacky dough that pulls away from the sides of the bowl but still sticks lightly to the bottom.
- Knead the Dough for Perfect Texture: If you are using a stand mixer, knead the dough on low speed for about 6 to 7 minutes until it becomes smooth and elastic. The dough should be slightly sticky but bounce back when pressed with a finger. If kneading by hand, transfer the dough onto a lightly floured surface and knead vigorously for about 10 minutes. Use the heel of your hand to push the dough away, fold it over, and rotate it, repeating this process rhythmically. Proper kneading develops gluten, which gives the bread its chewy texture and helps it rise beautifully.
- First Rise – Let the Dough Double: Lightly grease the inside of your mixing bowl or cover it with a clean kitchen towel. Place the kneaded dough back into the bowl and cover it to create a warm, draft-free environment. Allow the dough to rise for approximately 1 hour or until it has doubled in size. This fermentation period is critical as the yeast produces carbon dioxide, causing the dough to expand and develop flavor. A warm spot like near a radiator or inside a turned-off oven with the light on works perfectly for this.
- Shape the Dough for Baking: After the dough has doubled, gently punch it down to release the built-up gases. Transfer it onto a lightly floured surface and knead it a few more times to redistribute the yeast and gluten. Shape the dough into a loaf by rolling it lengthwise and tucking the edges underneath to form a tight, smooth loaf. This shaping helps your bread rise evenly in the pan and gives it a neat, classic appearance.
- Second Rise in the Loaf Pan: Grease a 9×5 inch loaf pan lightly with butter or non-stick spray. Place your shaped dough seam-side down into the pan. Cover the pan loosely with a clean kitchen towel or plastic wrap and let the dough rise again in a warm place for 30 to 45 minutes. During this second rise, the dough will puff up, almost reaching the top edge of the pan. This step ensures a soft and airy loaf once baked.
- Preheat Oven and Prepare for Baking: While the dough is rising for the second time, preheat your oven to 350°F (175°C). Ensure your oven rack is positioned in the middle to promote even heat circulation. Preheating is essential to activate the yeast’s final burst and create a golden, crusty exterior while baking the inside thoroughly.
- Bake the Bread to Golden Perfection: Once the second rise is complete, place the loaf pan in the preheated oven. Bake for 30 to 35 minutes, keeping an eye on the color of the crust. The bread is done when it’s a deep golden brown on top and sounds hollow when tapped gently on the bottom. If you have a kitchen thermometer, the internal temperature should reach about 190°F (88°C) to ensure it’s fully cooked.
- Cooling and Final Touches: Remove the bread from the oven and allow it to cool in the pan for 10 to 15 minutes. This resting period helps the bread set and makes it easier to remove from the pan. Afterward, carefully invert the pan onto a wire cooling rack or a clean kitchen towel to cool completely. Cooling the bread outside the pan prevents sogginess by allowing air to circulate around the loaf, preserving its crisp crust. Once cooled, slice and serve your fresh homemade buttermilk bread!
Notes
Chef’s Secrets: Expert Baking Insights
To elevate this simple recipe, try letting the dough rise slowly in the refrigerator overnight after the first rise.
This cold fermentation develops deeper flavor and improves texture. Adding a bit of honey or malt syrup in place of sugar can add subtle sweetness and a richer crust color.
When shaping, be gentle but firm to create tension on the dough’s surface—this helps the loaf hold its shape and rise evenly.
Also, brushing the top with melted butter right after baking adds a beautiful sheen and softens the crust, enhancing overall enjoyment.
Serving Suggestions: Delicious Ways to Enjoy
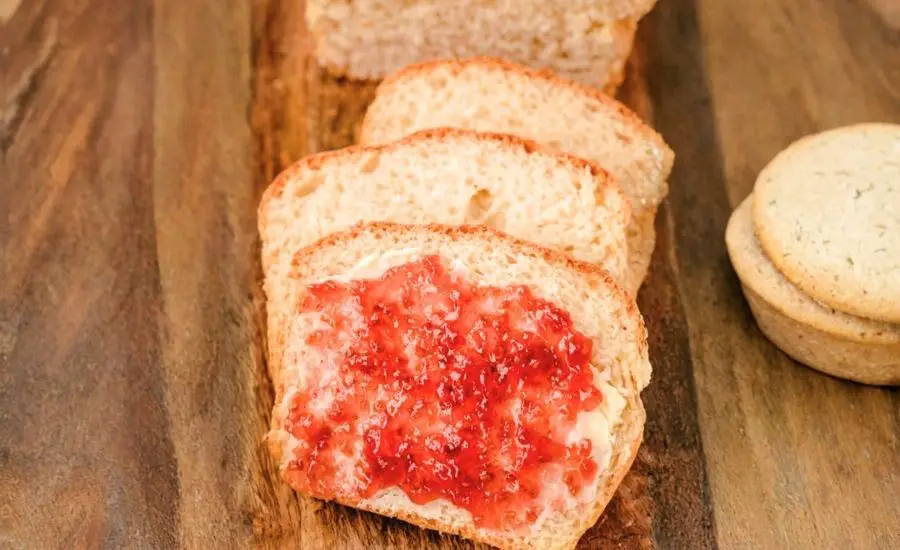
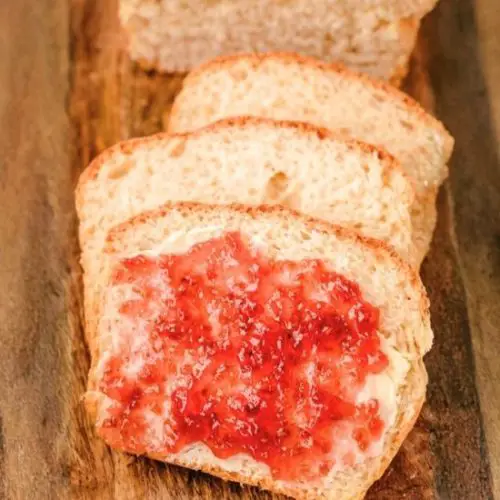
This buttermilk bread shines when toasted and topped with butter and jam for a classic breakfast.
It’s also wonderful as the base for sandwiches, from simple ham and cheese to loaded veggie stacks.
For a cozy snack, serve it warm with a bowl of homemade soup or stew. This bread pairs especially well with creamy cheeses and smoked meats, making it perfect for charcuterie boards.
Don’t hesitate to use leftover slices for French toast or bread pudding—its tender crumb absorbs flavors beautifully.
Storage Tips: Keeping Bread Fresh Longer
To maintain freshness, store your cooled bread in a paper bag or bread box at room temperature for up to three days.
Avoid plastic bags unless you plan to freeze the bread, as they trap moisture and can cause sogginess or mold.
For longer storage, slice the loaf and freeze the slices in an airtight container or zip-top bag; you can toast or thaw individual slices as needed.
If the crust softens after freezing, re-crisp it in a preheated oven at 350°F for 5-7 minutes before serving.
Frequently Asked Questions: Answers to Common Queries
1. Can I use regular milk instead of buttermilk?
Yes! You can substitute buttermilk by adding 1 tablespoon of lemon juice or vinegar to 1½ cups of milk and letting it sit for 5 minutes. While the flavor and texture won’t be exactly the same, it’s a convenient alternative.
2. What type of yeast is best for this recipe?
Active dry yeast works well here, but instant yeast can be used as well. If using instant yeast, you can add it directly to the flour without proofing, which may shorten the rising time slightly.
3. How do I know when the bread is fully baked?
The loaf should be golden brown on top and sound hollow when tapped on the bottom. Using an instant-read thermometer, the internal temperature should reach around 190°F (88°C) for perfectly baked bread.
4. Can I make this recipe gluten-free?
This recipe relies on gluten development for structure, so a direct gluten-free substitution is tricky. However, you can experiment with gluten-free all-purpose blends and xanthan gum, but expect differences in texture and rise.
5. Why is my bread dense or not rising well?
Dense bread can result from under-kneading, expired yeast, or insufficient rising time. Ensure your yeast is fresh, knead the dough until elastic, and provide a warm, draft-free environment for both rises.
This recipe is inspired by butterwithasideofbread and has been carefully refined to enhance clarity, streamline preparation steps, and ensure accurate results. We’ve also included health benefits, nutritional highlights, and Must-Have Tools to help you get the best results every time you cook.


