All products are selected by our editorial team for quality. If you buy through our links, we may earn a small commission at no extra cost to you.
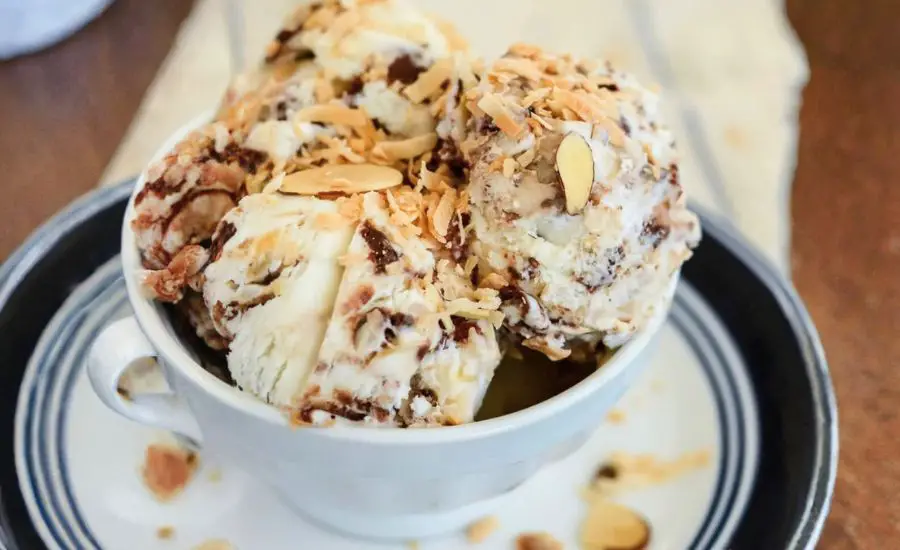
This luscious coconut almond ice cream offers a delightful twist on classic frozen treats, combining creamy plant-based coconut milk with rich heavy cream for a perfectly balanced texture.
Toasted almonds and coconut flakes add a satisfying crunch and a natural nuttiness, while the ribbon of decadent fudge ripple brings indulgence without overwhelming sweetness.
Beyond its irresistible flavor, this recipe benefits from good fats found in coconut milk and almonds, which support heart health and provide lasting energy.
It’s also naturally gluten-free and free of artificial additives, making it an excellent choice for health-conscious dessert lovers.
The recipe’s straightforward process is ideal for everyday cooking, requiring minimal prep and offering an impressive, homemade alternative to store-bought ice cream.

Whether you’re seeking a crowd-pleasing dessert or a special treat that’s both nourishing and satisfying, this coconut almond ice cream fits seamlessly into any meal plan.
Must-Have Tools for Perfect Results
Ice Cream Maker
Essential for churning the base into a creamy, smooth texture while incorporating air for the perfect scoopable consistency. A must-have for any homemade frozen dessert enthusiast, this appliance ensures professional-quality results at home.
Metal Baking Pan
Ideal for toasting almonds and coconut flakes evenly in the oven. Durable and heat-conductive, it doubles as a versatile roasting or baking tray for countless recipes beyond this one.
Mixing Bowl
A large, sturdy bowl is crucial for combining all ice cream base ingredients effortlessly. Its versatility makes it indispensable for everything from mixing batters to tossing salads.
Small Saucepan or Microwave-Safe Bowl
Used to gently heat heavy cream for melting chocolate into a smooth ganache ripple. Perfect for sauces, melting chocolate, or warming small portions in everyday cooking.

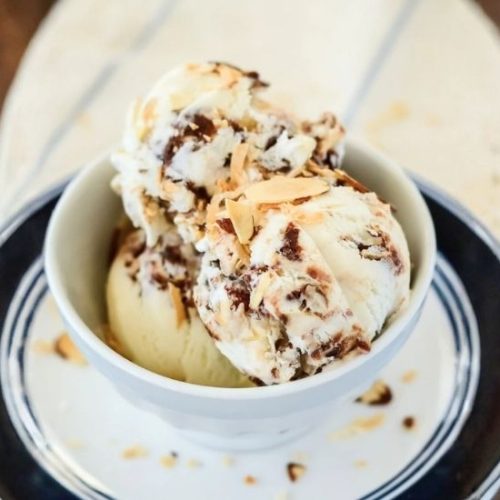
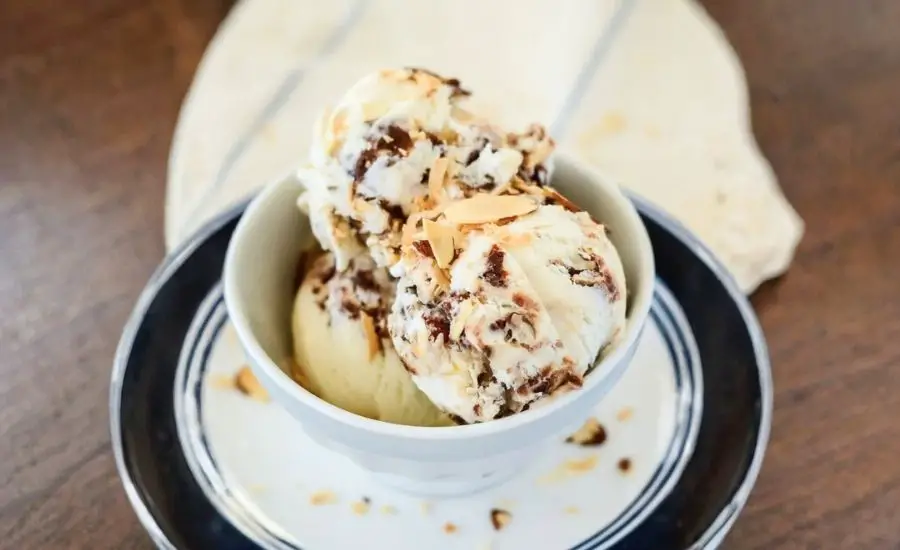
Almond Joy Ice Cream with Toasted Coconut
Equipment
- 1 Ice Cream Maker
- 2 Metal Baking Pans or Pie Plates
- 1 large mixing bowl
- 1 Small Saucepan or Microwave-Safe Bowl
- 1 Freezer-Safe Container (for layering and freezing)
Ingredients
Ice Cream Base
- 13.66 oz can chilled coconut milk 12-15 oz works
- 2 cups heavy cream
- 1 cup granulated sugar
- 1 tsp vanilla extract
- ¼ tsp coconut flavoring
- Pinch of salt
- ½ cup toasted coconut flakes
- ½ cup toasted sliced almonds
Ganache Fudge Ripple
- ¼ cup heavy cream
- ½ cup semi-sweet chocolate chips
- Dash of salt
Instructions
- Toast the Almonds and Coconut Flakes: Begin by preparing the crunchy elements that will add texture and depth to your ice cream. Preheat your oven to 350°F (175°C). Spread the sliced almonds evenly on one metal baking pan or pie plate, and the coconut flakes on another. Place both pans in the oven. Toast the almonds for about 6 to 10 minutes, stirring every couple of minutes to ensure even browning and prevent burning. The almonds are done when they turn golden brown and release a nutty aroma. Toast the coconut flakes for a shorter time—around 4 to 5 minutes—stirring often until they are golden and fragrant. Remove both pans from the oven and allow the nuts and coconut flakes to cool completely before using or freezing. This step enhances their natural flavors and adds a satisfying crunch to the final ice cream.
- Prepare the Creamy Ice Cream Base: While the nuts and coconut cool, prepare the rich and silky ice cream base. In a large mixing bowl, combine the chilled coconut milk, heavy cream, granulated sugar, vanilla extract, coconut flavoring, and a pinch of salt. Whisk these ingredients thoroughly until the sugar dissolves completely and the mixture is smooth and homogenous. The chilled coconut milk ensures your base will freeze properly while maintaining a creamy texture. This mixture balances the tropical coconut flavor with the richness of cream, providing a luscious canvas for the toasted add-ins and fudge ripple.
- Churn the Ice Cream Base: Pour the prepared ice cream base into your ice cream maker, following the manufacturer's instructions closely. Start the machine and churn the mixture for approximately 20 to 25 minutes. During this time, the ice cream maker will aerate the mixture and gradually freeze it, transforming the liquid base into a creamy, scoopable ice cream. The texture should be soft-serve consistency when done. It’s important not to over-churn, as this can lead to icy textures. If you don’t have an ice cream maker, consider using the freeze-and-stir method, stirring every 30 minutes until set.
- Make the Ganache Fudge Ripple: While the ice cream churns, prepare the rich fudge ripple that will be swirled throughout. Heat the heavy cream in a microwave-safe bowl or small saucepan just until it begins to simmer gently around the edges—avoid boiling. Remove from heat immediately to prevent scorching. Add the semi-sweet chocolate chips and a dash of salt to the hot cream. Let this mixture sit undisturbed for 2 to 3 minutes to allow the chocolate to soften and melt fully. Then, stir slowly and continuously until the ganache is smooth, glossy, and completely melted. Place the ganache in the refrigerator to chill, stirring occasionally to maintain a spreadable consistency.
- Layer the Ice Cream with Crunch and Fudge: Once the ice cream base is churned and the ganache is slightly thickened, transfer everything to a freezer-safe container for layering. Start by spooning about one-third of the churned ice cream into the container, spreading it evenly. Sprinkle a generous layer of toasted coconut flakes and sliced almonds over the ice cream. Then drizzle a few spoonfuls of the ganache fudge ripple on top. Repeat this layering process two more times, finishing with a top layer of ice cream. Using the back of a spoon or the handle, gently swirl the ganache ripple through the layers, creating beautiful ribbons of chocolate without fully mixing it in.
- Freeze Until Firm: Cover the container tightly with a lid or plastic wrap to prevent ice crystals from forming. Place the layered ice cream in the freezer and allow it to freeze for at least 3 to 4 hours, or until it’s firm enough to scoop easily. This extended freezing time lets the flavors meld and ensures the texture is ideal for serving. Before scooping, let the ice cream sit at room temperature for 5 to 10 minutes to soften slightly for perfect scoops.
- Serve and Enjoy: Scoop generous portions into bowls or cones, garnishing with any remaining toasted almonds or coconut flakes for an extra crunch. This ice cream is a deliciously creamy treat with satisfying texture contrasts and rich flavor. Store any leftovers in the freezer, pressing plastic wrap onto the surface before sealing to maintain softness and prevent ice crystals.
Notes
- Always chill the coconut milk before starting to ensure a smooth, creamy base.
- Toasting the almonds and coconut flakes brings out deeper flavors and a satisfying crunch. Stir frequently while toasting to prevent burning.
- Avoid using sweetened cream of coconut as a substitute for coconut milk, since it will make the ice cream overly sweet.
- If you don’t have an ice cream maker, try freezing the base in a shallow container and stirring vigorously every 30 minutes until firm to mimic churning.
- Press plastic wrap directly on the ice cream surface after scooping to reduce ice crystal formation and keep your ice cream soft.
Chef’s Secrets for Best Texture
Achieving the perfect creamy texture hinges on a few key steps.
First, chilling the coconut milk thoroughly before mixing helps prevent graininess.
Toasting the almonds and coconut flakes not only adds flavor but prevents sogginess once layered into the ice cream.
When making the fudge ripple, avoid overheating the cream; gently heating ensures a smooth ganache without separation.
During layering, swirl the fudge lightly to create beautiful ribbons without fully blending, which maintains texture contrast.
Lastly, letting the ice cream soften slightly before scooping improves scoopability and enhances the eating experience.
Serving Suggestions to Impress Guests
This coconut almond ice cream shines on its own but pairs wonderfully with fresh tropical fruits like mango or pineapple for a bright, refreshing contrast.
You can also serve it alongside a warm chocolate brownie or a slice of coconut cake to elevate dessert presentations.
For a festive touch, sprinkle extra toasted almonds or a drizzle of dark chocolate syrup on top.
It’s equally delightful served in waffle cones or alongside a cup of strong espresso for a sophisticated treat.
Storage Tips to Preserve Quality
Store your homemade ice cream in an airtight, freezer-safe container to keep it fresh and prevent freezer burn.
Press plastic wrap or parchment paper directly onto the ice cream surface before sealing to minimize ice crystal formation.
Homemade ice cream is best enjoyed within 2 weeks for optimal flavor and texture.
When ready to serve, remove from the freezer and let sit at room temperature for 5 to 10 minutes to soften slightly for easy scooping.
Frequently Asked Questions About Recipe
1. Can I use canned cream of coconut instead of coconut milk?
No, cream of coconut is sweetened and will make the ice cream too sugary. Stick to unsweetened canned coconut milk for balanced flavor.
2. What if I don’t have an ice cream maker?
You can freeze the ice cream base in a shallow container, stirring every 30 minutes to break up ice crystals until firm. This manual method mimics churning.
3. Can I make this recipe dairy-free?
Yes! Replace heavy cream with full-fat coconut cream or a plant-based cream alternative to keep it dairy-free while maintaining richness.
4. How long can I store homemade ice cream?
For best taste and texture, consume within 2 weeks. Beyond that, the ice cream can develop ice crystals and lose creaminess.
5. Can I add other nuts or toppings?
Absolutely! Pistachios, pecans, or macadamia nuts work well toasted. You can also experiment with shredded dark chocolate or dried fruit.
This recipe is inspired by creationsbykara and has been carefully refined to enhance clarity, streamline preparation steps, and ensure accurate results. We’ve also included health benefits, nutritional highlights, and Must-Have Tools to help you get the best results every time you cook.


