All products are selected by our editorial team for quality. If you buy through our links, we may earn a small commission at no extra cost to you.
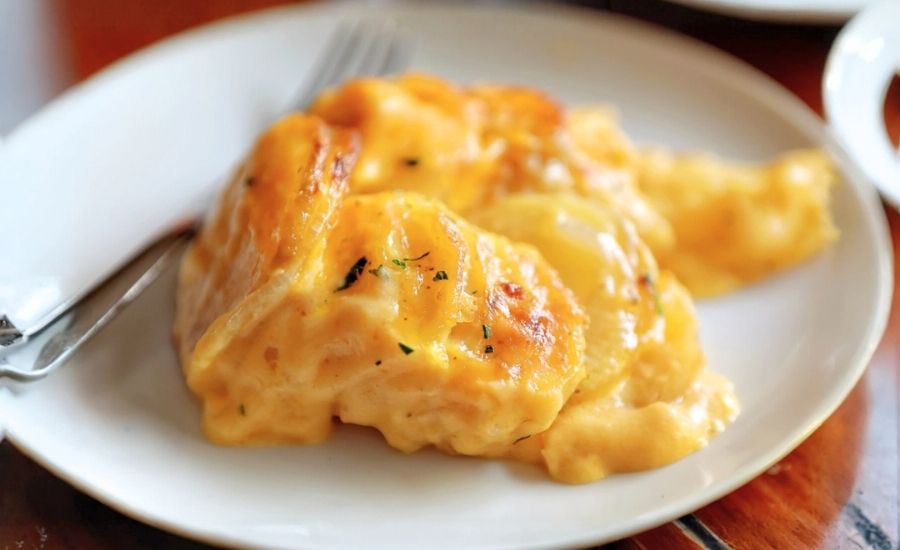
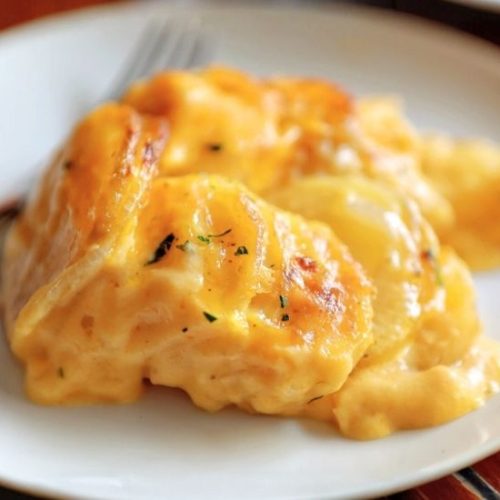
Cheesy Scalloped Potatoes are the ultimate comfort food, combining tender slices of russet potatoes and sweet onions smothered in a rich, creamy cheese sauce.
What makes this recipe truly special is its perfect balance of ooey-gooey melted cheddar cheese with the subtle savory notes from the onion and buttery roux-based sauce.
Nutritionally, this dish offers a moderate amount of protein from the cheese and contains complex carbs from the potatoes, making it a satisfying side that fuels your day.
While indulgent, it uses whole milk and unsalted butter, providing good fats and essential nutrients.
This recipe is an excellent option for everyday meals because it’s straightforward to prepare, requires minimal hands-on time, and delivers consistent, crowd-pleasing results.
Plus, it’s versatile enough to accompany various mains or serve as a hearty vegetarian dish on its own.
Must-Have Tools for Perfect Results
Medium Saucepan
Essential for making the smooth cheese sauce, a quality saucepan ensures even heat distribution, preventing burning and allowing you to whisk the roux and milk flawlessly.
A durable pan like the Kitchenaid model provides versatility for countless sauces and soups in your kitchen.
Mandoline (Optional)
Perfect for slicing potatoes uniformly to about ¼-inch thickness, a mandoline ensures even cooking and beautiful presentation.
Its precise slicing capability is valuable beyond this recipe for salads, gratins, or vegetable chips.
8×8-Inch Glass Baking Dish
Ideal for layering potatoes and onions, a clear glass dish allows you to monitor cooking progress and promotes even baking.
Its size is perfect for family meals, and it doubles as a serving dish.
Whisk
A sturdy whisk helps incorporate flour and milk into a lump-free cheese sauce.
This versatile tool is indispensable for sauces, dressings, and batters alike, making it a kitchen staple.
Aluminum Foil
Used to cover the dish while baking, foil traps moisture ensuring tender potatoes.
It’s an inexpensive and handy tool for roasting, baking, and food storage.
Cheesy Scalloped Potatoes
Equipment
- Medium saucepan (1)
- Mandoline slicer (optional) (1)
- 8×8-inch glass baking dish (1)
- Whisk (1)
- Aluminum foil (1 sheet)
Ingredients
- 4 medium russet potatoes peeled and thinly sliced (about 2 pounds)
- 1 large yellow onion sliced into rings
- 3 tablespoons unsalted butter
- 3 tablespoons all-purpose flour
- ½ teaspoon kosher salt plus more to taste
- 2 cups whole milk at room temperature
- 1½ cups mild cheddar cheese shredded
- Freshly ground black pepper to taste
- Nonstick cooking spray for greasing
Instructions
- Prepare the Oven and Dish: Preheat your oven to 400°F (200°C). Lightly grease an 8×8-inch baking dish with nonstick spray to prevent sticking and help with easy cleanup.
- Slice and Layer Potatoes and Onions: Peel the potatoes and cut them into uniform ¼-inch slices. Slice the onion into thin rings. Arrange the potato slices in the baking dish, overlapping slightly, then layer the onion rings on top. Continue alternating layers of potatoes and onions until all are used, creating a visually appealing stack.
- Make the Creamy Cheese Sauce: In a medium saucepan, melt the butter over medium heat. Once melted, whisk in the flour and salt, stirring continuously for about one minute to form a smooth roux without any lumps. Gradually add the room-temperature milk while whisking constantly. Cook the mixture until it thickens enough to coat the back of a spoon, about 3-5 minutes. Remove from heat and stir in the shredded cheddar cheese until completely melted and the sauce is smooth.
- Combine and Cover: Pour the rich cheese sauce evenly over the layered potatoes and onions, making sure every slice is coated. Cover the baking dish tightly with aluminum foil to trap steam, which helps soften the potatoes during baking.
- Bake Until Tender: Place the covered dish in the preheated oven and bake for approximately 85-90 minutes. The potatoes should be fork-tender and fully cooked through.
- Optional Crisp Topping: For a golden, bubbly finish, remove the foil and switch your oven to broil. Broil the scalloped potatoes for 2-4 minutes, keeping a close eye to avoid burning, until the top turns beautifully golden brown.
- Season and Serve: Remove from the oven and season with additional salt and freshly ground black pepper to taste. Let the dish rest for a few minutes before serving to allow the sauce to thicken slightly.
Notes
- Uniform Slices: For even cooking, try to slice potatoes and onions evenly. Using a mandoline slicer can save time and ensure consistent thickness.
- Cheese Variations: Mild cheddar works beautifully here, but feel free to experiment with sharp cheddar, Gruyère, or a blend for different flavor profiles.
- Make-Ahead Tip: You can prepare the layers and sauce ahead of time, refrigerate covered, and bake when ready—just add extra baking time if starting cold.
- Dairy Alternatives: For a lighter version, substitute whole milk with 2% or use a plant-based milk (unsweetened almond or oat milk) though the texture may vary slightly.
- Leftovers: Store leftovers in an airtight container in the fridge for up to 3 days. Reheat gently in the oven or microwave.
Chef’s Secrets to Creamy Perfection
Achieving the perfect creamy texture in scalloped potatoes starts with creating a smooth, lump-free cheese sauce.
The key is to whisk constantly while making the roux—melting butter and flour together—before gradually adding warm milk.
This technique ensures the sauce thickens evenly without clumps.
Using whole milk enhances richness, but don’t rush the process; slow cooking the sauce on medium heat allows the cheese to melt fully and integrate beautifully.
Another secret is layering thin, uniform slices of potatoes and onions, which guarantees even cooking and a tender bite.
Covering the dish with foil during baking traps steam, softening the potatoes perfectly.
For a delightful contrast, finishing under the broiler adds a golden, crispy top that elevates texture and presentation.
Lastly, letting the dish rest a few minutes after baking helps the sauce thicken up and improves serving ease.
Serving Suggestions for a Balanced Meal
Cheesy Scalloped Potatoes pair wonderfully with a variety of mains, making them a versatile side dish.
For a hearty, classic meal, serve alongside roasted chicken, pork tenderloin, or beef brisket to complement the creamy richness with savory protein.
They also work beautifully with lighter dishes such as grilled salmon or sautéed vegetables for a balanced plate.
To add freshness, consider a crisp green salad or steamed green beans with a squeeze of lemon to cut through the cheese’s richness.
For gatherings, this recipe can easily feed a crowd and hold well on a buffet table.
Garnishing with fresh herbs like parsley or chives just before serving adds a pop of color and a subtle herbal note.
Storage Tips to Maintain Freshness
Leftover scalloped potatoes store well but should be handled properly to preserve flavor and texture.
Once cooled to room temperature, transfer leftovers to an airtight container and refrigerate within two hours of cooking.
Consume within three days for best taste and safety. When reheating, the oven is preferred to maintain texture—cover loosely with foil and warm at 350°F until heated through, which helps prevent drying out.
While the microwave is quicker, it may cause uneven heating or a soggy texture. For longer storage, you can freeze portions in freezer-safe containers for up to two months.
Thaw overnight in the fridge before reheating gently.
Avoid freezing the dish after broiling for the crisp top, as it loses its texture once frozen.
Frequently Asked Questions About Scalloped Potatoes
1. Can I use different types of potatoes?
Yes, Yukon Gold or red potatoes can be used. They hold their shape well and offer a slightly different flavor, but russets are preferred for their creamy texture when cooked.
2. Is it necessary to peel the potatoes?
Peeling is traditional for scalloped potatoes to achieve a smooth texture, but leaving skins on adds fiber and a rustic appeal if you prefer.
3. Can I prepare this dish ahead of time?
Absolutely! You can assemble the layers and sauce the day before, cover tightly, and refrigerate. Bake it fresh when ready, adding a few extra minutes if starting from cold.
4. How do I make the cheese sauce without lumps?
Whisking continuously while combining butter, flour, and milk is essential. Adding warm milk gradually and maintaining medium heat prevents lumps and creates a velvety sauce.
5. Can I make this recipe dairy-free or vegan?
You can substitute plant-based milk alternatives like oat or almond milk and use dairy-free butter and cheese options. The sauce texture may vary slightly, but the dish will still be delicious.
This recipe is inspired by iambaker and has been carefully refined to enhance clarity, streamline preparation steps, and ensure accurate results. We’ve also included health benefits, nutritional highlights, and Must-Have Tools to help you get the best results every time you cook.
