All products are selected by our editorial team for quality. If you buy through our links, we may earn a small commission at no extra cost to you.
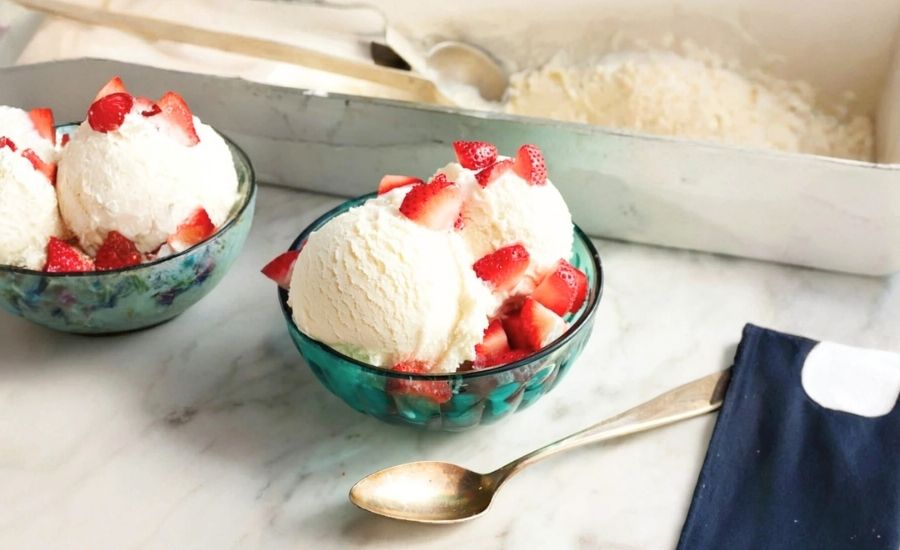
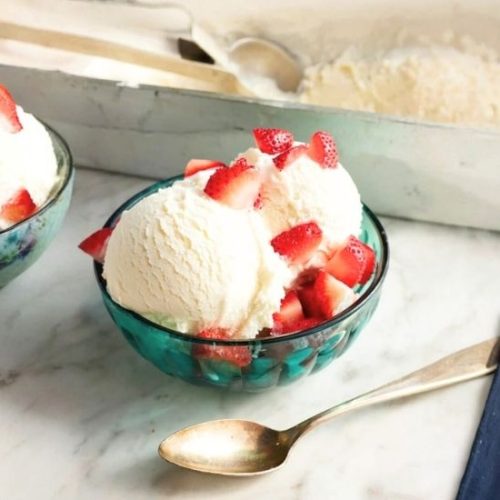
This homemade vanilla ice cream is a timeless, crowd-pleasing treat made with only five simple ingredients—cream, milk, sugar, vanilla, and sea salt.
What makes it especially appealing is its simplicity and pure flavor. With no additives or preservatives, it offers a cleaner, more wholesome dessert than most store-bought varieties.
The blend of heavy cream and whole milk gives it a rich, velvety texture, while vanilla extract enhances the depth of flavor.
From a health perspective, this recipe is a good source of healthy fats and calcium and is free from artificial stabilizers or high-fructose sweeteners.
It can also be adapted with natural sweeteners or non-dairy options for a lighter version.
Plus, it’s a fantastic recipe for everyday cooking: quick to prepare, easy to customize with mix-ins like fruit or chocolate, and ideal for make-ahead entertaining or satisfying summer cravings.
Must-Have Tools for Perfect Results
KitchenAid Ice Cream Maker Attachment
Transforms your KitchenAid stand mixer into a frozen dessert machine. Perfect for churning smooth, creamy ice cream in under 30 minutes.
An excellent space-saving option for home cooks who already own a KitchenAid mixer.
Cuisinart Ice Cream Maker
A compact, reliable electric machine that takes the guesswork out of homemade ice cream.
Its double-insulated freezer bowl eliminates the need for ice or salt—just freeze, pour, and churn. Great for sorbet, frozen yogurt, and gelato too.
Heatproof Mixing Bowl
Essential for chilling the custard base safely after warming.
A good-quality heatproof bowl prevents cracking under temperature shifts and doubles as a prep or serving bowl.
Whisk (Stainless Steel)
Ensures the sugar dissolves evenly into the cream mixture.
A sturdy whisk provides better control and smoother blending in everything from custards to batters.
Airtight Freezer-Safe Container
Preserves your ice cream’s texture and flavor during storage.
Look for a BPA-free, freezer-grade container to prevent freezer burn and maintain creaminess.
Easy Homemade Vanilla Ice Cream
Equipment
- 1 KitchenAid Ice Cream Maker Attachment
- 1 Cuisinart Ice Cream Maker
- 1 Heatproof Mixing Bowl
- 1 Whisk
- 1 Airtight Freezer-Safe Container
Ingredients
- 1½ cups heavy cream
- 1½ cups whole milk
- ⅔ cup cane sugar
- 2 teaspoons pure vanilla extract
- ⅛ teaspoon fine sea salt
Instructions
- Heat and Blend the Base: In a medium saucepan, combine the heavy cream, whole milk, cane sugar, vanilla extract, and sea salt. Set the pan over medium-low heat and stir frequently with a whisk. Warm the mixture gently for about 5 minutes, just until the sugar fully dissolves and the liquid is evenly heated. Do not boil.
- Cool and Chill Completely: Once warmed, transfer the mixture to a heat-safe bowl. Cover with a lid or plastic wrap and place in the refrigerator. Allow it to chill thoroughly for at least 2 hours, or ideally overnight. This step ensures better texture and churning efficiency.
- Churn to Creamy Perfection: Give the chilled mixture a quick whisk to recombine any settled ingredients. Pour it into your ice cream maker and churn according to the manufacturer's instructions. Most machines will take 20 to 30 minutes to reach a soft-serve consistency.
- Firm Up in the Freezer: Scoop the churned ice cream into an airtight, freezer-safe container.For a firmer scoop, freeze for an additional 2 to 4 hours before serving. This extra freezing time allows the texture to solidify for a traditional ice cream finish.
- Serve and Store Smartly: Enjoy right away or keep stored in the freezer for up to 1 month. If the ice cream hardens too much, let it sit at room temperature for a few minutes before scooping.
Notes
- This recipe yields approximately 1 quart of ice cream.
- For best results, place your ice cream maker’s freezer bowl in the freezer at least 12 hours in advance—ideally overnight.
- Customize your base by folding in add-ins like crushed cookies, chocolate chips, or fruit during the last few minutes of churning.
- To make it dairy-free, swap the cream and milk for full-fat coconut milk, and adjust the sugar to taste.
- Use high-quality vanilla extract for the richest, most fragrant flavor.
Chef’s Secrets for Creamy Perfection
The key to truly luscious, creamy homemade ice cream lies in three simple practices: balancing fat content, chilling the base properly, and churning at the right temperature.
Using both heavy cream and whole milk provides the ideal richness and mouthfeel without making the ice cream overly dense.
Be sure to warm the mixture just enough to dissolve the sugar—this enhances texture and flavor—but avoid letting it boil, which could affect the consistency.
Chilling the base thoroughly before churning is critical; it helps the ice cream freeze more evenly and creates a smoother texture.
Always freeze your ice cream maker’s bowl for at least 12 hours in advance to ensure it’s cold enough to churn efficiently.
Lastly, while the base is simple, using high-quality vanilla extract can elevate the flavor dramatically, giving you that classic, clean vanilla taste with a deep aroma and finish.
Serving Suggestions to Satisfy Everyone
This homemade vanilla ice cream is wonderfully versatile and can be served in a variety of ways.
For a classic treat, scoop it into cones or bowls and top with fresh berries, chopped nuts, or a drizzle of caramel or hot fudge.
It also makes an excellent base for ice cream sundaes, banana splits, or affogato—simply pour a shot of hot espresso over a scoop for a sophisticated twist.
You can sandwich it between homemade cookies for irresistible ice cream sandwiches or serve it alongside warm desserts like apple pie, brownies, or cobbler.
For a fun gathering idea, set up a DIY sundae bar with assorted toppings and sauces so guests can customize their own creations.
Best Practices for Storing Leftovers
To keep your homemade ice cream fresh and creamy, always store it in a freezer-safe, airtight container.
Pressing a piece of parchment paper or plastic wrap directly onto the surface before sealing the lid helps prevent ice crystals from forming. For best texture, enjoy within 1 month of churning.
If the ice cream becomes too firm after extended freezing, simply let it rest at room temperature for 5 to 10 minutes before scooping.
Avoid placing the container near the front of the freezer, where temperature fluctuations are common.
Instead, store it toward the back or bottom shelf, where it’s colder and more stable.
Labeling the container with the preparation date is also a good habit to ensure freshness.
Frequently Asked Questions (And Answers)
1. Can I make this ice cream without an ice cream maker?
Yes! While an ice cream maker yields the creamiest results, you can pour the chilled mixture into a loaf pan and freeze it, stirring every 30 minutes for 2–3 hours to mimic the churning process.
2. Can I substitute non-dairy ingredients?
Absolutely. Full-fat coconut milk works well in place of both cream and milk for a dairy-free version. Just keep in mind that it will have a subtle coconut flavor and a slightly different texture.
3. Why is my ice cream too icy?
This usually happens if the base wasn’t chilled long enough or if the ice cream wasn’t stored properly.
Ensuring your mixture is completely cold and storing it with a layer of wrap touching the surface can help prevent iciness.
4. Can I reduce the sugar?
Yes, you can slightly reduce the sugar without affecting the structure too much, but remember that sugar also helps with texture and softness, so cutting too much may make the ice cream harder.
5. How can I add mix-ins like chocolate or fruit?
Fold in your desired mix-ins—like chopped chocolate, fruit, or nuts—during the final 5 minutes of churning, or just after churning but before transferring to the freezer for final firming.
This recipe is inspired by loveandlemons and has been carefully refined to enhance clarity, streamline preparation steps, and ensure accurate results. We’ve also included health benefits, nutritional highlights, and Must-Have Tools to help you get the best results every time you cook.
