All products are selected by our editorial team for quality. If you buy through our links, we may earn a small commission at no extra cost to you.
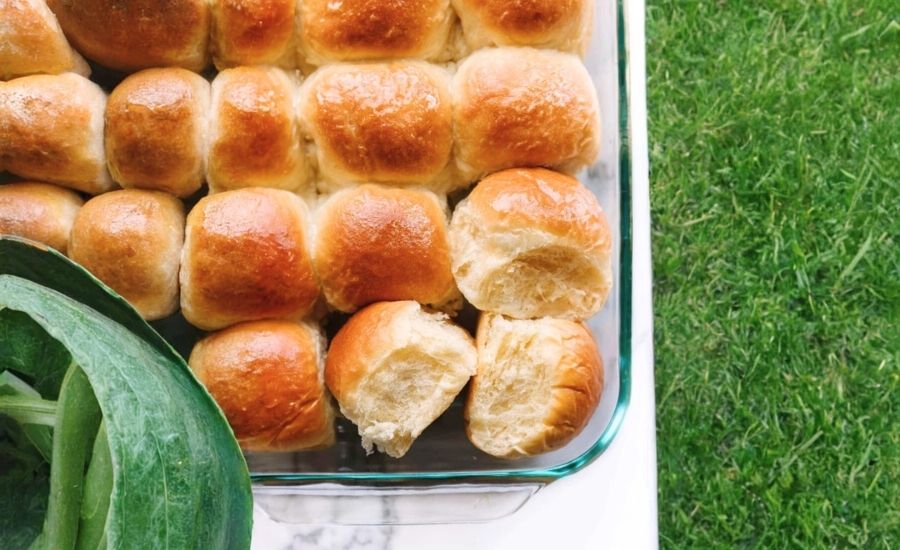
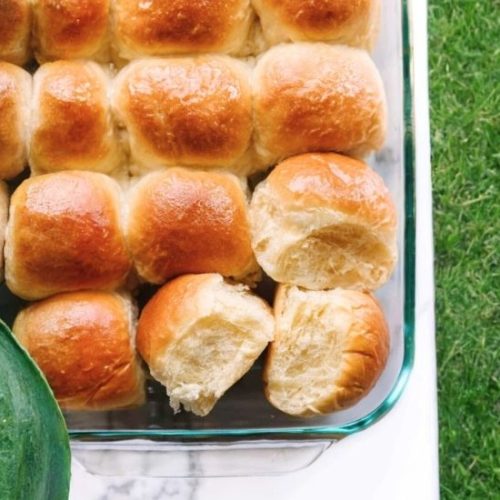
These soft dinner rolls stand out for their irresistibly tender, flaky texture and rich buttery flavor—all achieved with just seven simple ingredients.
The use of whole milk and butter contributes to a moist, delicate crumb, making these rolls a comforting complement to any meal.
Beyond their delicious taste, these rolls offer moderate protein from the milk and egg, while remaining low in saturated fat compared to richer pastry options.
The recipe’s balanced use of wholesome ingredients makes it suitable for everyday cooking, especially when you crave fresh-baked bread without complicated steps.
Plus, the dough’s manageable rise times and options for freezing or overnight prep make these rolls perfect for meal prep or last-minute gatherings.
Their versatility and straightforward method make them a go-to for both novice and experienced bakers seeking satisfying, homemade bread.
Must-Have Tools for Perfect Results
Electric Stand Mixer
This tool effortlessly mixes and kneads the dough, saving time and arm strength while ensuring a consistent texture.
Beyond rolls, it’s essential for a variety of baking tasks, from whipping cream to mixing batter.
9×13-Inch Glass Baking Pan
Ideal for baking these rolls evenly without over-browning the tops.
Glass pans retain heat uniformly and are versatile for casseroles, roasting, and baking other breads.
Bench Scraper
Perfect for dividing dough into even portions cleanly and efficiently.
It’s a versatile kitchen helper for chopping, scraping counters, and handling sticky dough.
Pastry Brush
Essential for brushing melted butter or honey butter topping onto rolls, adding flavor and a glossy finish.
Also great for glazing pastries, basting meats, and spreading oils.
Large Mixing Bowl
For hand mixing and proofing dough, a sturdy bowl is invaluable.
It’s a kitchen staple used for tossing salads, marinating, and mixing ingredients.
Fluffy Soft Dinner Rolls
Equipment
- 1 Electric Stand Mixer with dough hook attachment (optional but recommended)
- 1 Large Mixing Bowl (for hand mixing or rising)
- 1 9×13-inch Glass Baking Pan (or equivalent size baking pan/skillet)
- 1 Bench Scraper (for dividing dough)
- 1 Pastry Brush (for topping)
Ingredients
- 1 cup 240 ml whole milk, warmed to about 110°F (43°C)
- 2 ¼ teaspoons instant yeast one standard packet
- 2 tablespoons granulated sugar divided
- 1 large egg
- ¼ cup 4 tablespoons; 56 grams unsalted butter, softened and cut into pieces
- 1 teaspoon salt
- 3 cups 390 grams all-purpose or bread flour, spooned and leveled
- Optional topping: 2 tablespoons melted unsalted butter mixed with 1 tablespoon honey
Instructions
- Activate the Yeast: Begin by whisking the warmed milk together with the instant yeast and half of the sugar (1 tablespoon) in the bowl of your stand mixer or a large mixing bowl. Cover this mixture and let it rest for about 5 minutes, allowing the yeast to become bubbly and active.
- Combine Ingredients and Start Mixing: Add the remaining sugar, egg, softened butter, salt, and one cup of flour to the yeast mixture. Using the dough hook attachment on low speed (or a sturdy wooden spoon if mixing by hand), mix just until the ingredients begin to come together. Scrape down the sides of the bowl with a silicone spatula to ensure everything is well incorporated.
- Incorporate Remaining Flour and Knead: Gradually add the remaining flour while mixing on medium speed until the dough pulls away from the bowl and forms a slightly sticky but workable ball. If the dough feels too wet and sticky to knead, sprinkle in a tablespoon of flour at a time until manageable. Continue kneading with the stand mixer for about 5 minutes or transfer the dough to a floured surface and knead by hand until smooth and elastic. The dough should remain soft but springy when pressed.
- First Rise and Dough Proofing: Lightly oil a large bowl and place your kneaded dough inside, turning it to coat all sides with oil. Cover the bowl with plastic wrap or a clean kitchen towel and set it in a warm place to rise until doubled in size, about 1.5 to 2 hours depending on room temperature.
- Shape the Rolls: After the dough has risen, gently deflate it by pressing down. Divide it into roughly 14 to 16 equal portions using your hands or a bench scraper. Shape each piece into a smooth ball and arrange them in a greased 9×13-inch baking dish or equivalent pan, leaving a little space between them.
- Second Rise for Fluffiness: Cover the shaped rolls with a clean towel or plastic wrap again and allow them to rise for about 1 hour, until puffy and nearly doubled. Meanwhile, preheat your oven to 350°F (177°C) and adjust your oven rack to a lower position to prevent the tops from browning too quickly.
- Bake and Add Finishing Touch: Bake the rolls for approximately 20 to 25 minutes, rotating the pan halfway through to ensure even browning. If the tops begin to darken too fast, tent loosely with foil. Once golden and cooked through, remove the rolls from the oven and brush immediately with the optional honey butter mixture to add a glossy, flavorful finish. Let the rolls cool slightly before serving.
Notes
- Freezing Dough for Later Use: Prepare the dough through shaping, then place the individual dough balls in a greased pan. Cover tightly and freeze for up to 3 months. When ready to bake, thaw the frozen dough balls in the pan covered for 4 to 5 hours at room temperature before baking as usual.
- Freezing Baked Rolls: Let rolls cool completely, then freeze in an airtight container for up to 3 months. Thaw in the fridge or at room temperature, reheating gently in a 300°F (149°C) oven for about 10 minutes.
- Overnight Refrigeration: After shaping the rolls, cover and refrigerate for up to 15 hours. Remove them at least 3 hours before baking to let them warm and rise at room temperature. Alternatively, you can let the dough rise once in the fridge overnight, then give it an additional 2-hour rise at room temperature before baking.
- Flour Options: Use all-purpose flour for soft rolls or bread flour for a slightly chewier texture. Both work well without changing the recipe.
Chef’s Secrets for Fluffy Rolls
Achieving perfectly soft and flaky dinner rolls comes down to a few key techniques.
First, warming the milk to around 110°F activates the yeast without killing it, ensuring a reliable rise.
Using instant yeast speeds up the process and is convenient for home bakers, but active dry yeast works fine if you allow extra rising time.
Kneading the dough thoroughly—either by stand mixer or hand—develops gluten, giving the rolls their chewy yet tender structure.
Avoid adding too much flour; the dough should feel slightly sticky to keep rolls moist and soft.
Lastly, proofing the dough in a warm, draft-free environment ensures steady fermentation and better flavor development.
Brushing the rolls with honey butter right after baking creates a beautiful shine and adds a touch of sweetness that elevates the final product.
Serving Suggestions to Impress Guests
These soft dinner rolls are a versatile crowd-pleaser, perfect alongside hearty soups, stews, or roasted meats.
They make an ideal accompaniment to holiday dinners or casual family meals alike.
For a simple snack, split them open and spread with butter, honey, or jam.
You can also transform leftover rolls into sliders or mini sandwiches with deli meats, cheese, and fresh veggies.
Their subtle buttery flavor pairs wonderfully with savory dishes like roast chicken or grilled vegetables, and their fluffy texture soaks up sauces beautifully.
Warm them slightly before serving to revive freshness and softness for an irresistible bite every time.
Storage Tips to Maintain Freshness
To keep your dinner rolls fresh, store them tightly covered at room temperature for up to 2-3 days.
Avoid leaving them exposed to air, which causes drying out. For longer storage, place the rolls in an airtight container or resealable bag and refrigerate for up to one week—just be aware refrigeration can slightly dry bread.
Freezing is an excellent option: freeze either shaped dough before baking or fully baked rolls for up to 3 months.
When ready to enjoy, thaw overnight in the refrigerator or for several hours at room temperature, then warm in the oven to refresh softness.
Properly stored, these rolls retain their tender crumb and buttery flavor even after freezing.
Frequently Asked Questions Answered Clearly
Can I use active dry yeast instead of instant yeast?
Yes! If using active dry yeast, dissolve it in the warm milk and sugar mixture first and allow it to bloom for 5–10 minutes before proceeding. Rise times may be slightly longer, but the final results will be just as delicious.
Can I make these rolls dairy-free or vegan?
You can substitute plant-based milk like almond or oat milk for whole milk, and use vegan butter or margarine instead of unsalted butter. Note that texture and flavor might vary slightly, but the rolls should still turn out soft and tasty.
How do I know if the dough is kneaded enough?
Perform the “windowpane test”: stretch a small piece of dough gently—if it stretches thin enough to let light through without tearing, the gluten is well-developed. Alternatively, the dough should feel smooth, elastic, and bounce back when poked.
What’s the best way to reheat leftover rolls?
Warm leftover rolls in a 300°F (149°C) oven for about 10 minutes, covered loosely with foil to prevent drying. You can also microwave briefly wrapped in a damp paper towel for a softer result, though the oven method preserves texture better.
Can I freeze shaped dough for baking later?
Absolutely! After shaping, place the dough balls in a greased pan and freeze tightly covered for up to 3 months. When ready, thaw covered at room temperature for 4–5 hours until risen, then bake as usual for fresh rolls on demand.
This recipe is inspired by sallysbakingaddiction and has been carefully refined to enhance clarity, streamline preparation steps, and ensure accurate results. We’ve also included health benefits, nutritional highlights, and Must-Have Tools to help you get the best results every time you cook.
