All products are selected by our editorial team for quality. If you buy through our links, we may earn a small commission at no extra cost to you.
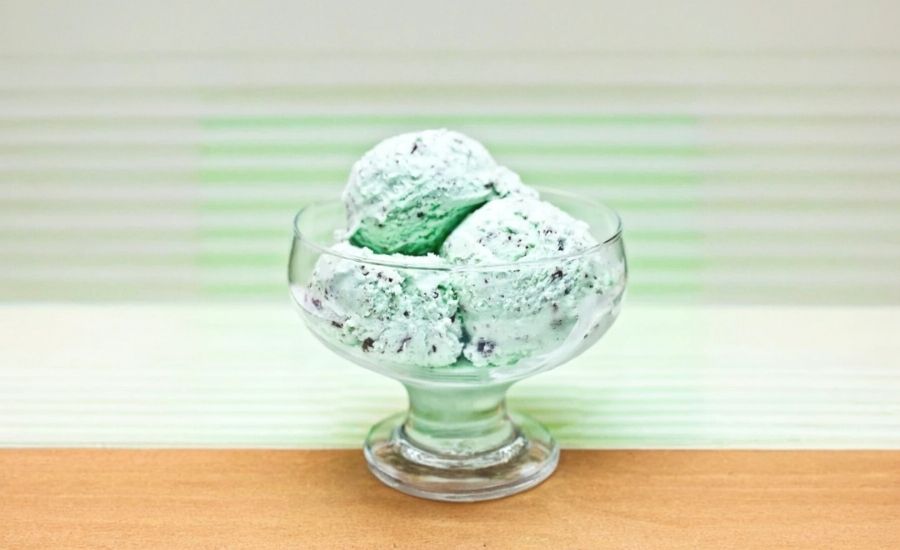
This homemade mint chocolate chip ice cream stands out for its simple ingredient list and classic, refreshing flavor.
Using whole milk and heavy cream delivers a rich, creamy texture that’s hard to beat, while peppermint extract adds a bright, invigorating twist.
Although indulgent, the recipe offers a balanced nutritional profile with moderate protein from dairy and a satisfying dose of good fats, making it a treat that fuels and delights.
The modest fiber content comes from the chocolate chips, contributing a slight nutritional bonus.
Perfect for everyday cooking, this recipe is straightforward and quick to prep, especially with an ice cream maker doing the heavy lifting.
It’s ideal for family gatherings, summer treats, or meal prepping dessert for the week. Plus, it’s vegetarian-friendly and easily customizable—swap peppermint for vanilla to change things up.
This recipe is as approachable as it is satisfying, making homemade ice cream accessible and rewarding.
Must-Have Tools for Perfect Results
Ice Cream Maker
The cornerstone of this recipe, it churns the ice cream base while incorporating air for a creamy, smooth texture.
Beyond this recipe, it’s essential for any homemade frozen dessert enthusiast aiming to craft perfect ice cream, sorbet, or gelato with ease.
Whisk
Used to thoroughly combine milk and sugar until dissolved, ensuring a smooth base without graininess.
A whisk is indispensable in any kitchen for emulsifying, mixing batters, and whipping creams effortlessly.
Mixing Bowl
A sturdy bowl holds and combines all ingredients comfortably, facilitating efficient mixing.
High-quality mixing bowls are versatile essentials perfect for prepping, marinating, and even serving.
Airtight Container
Crucial for storing the finished ice cream to maintain freshness and prevent ice crystals.
An airtight container is a must-have for any cook who values food preservation and organization.
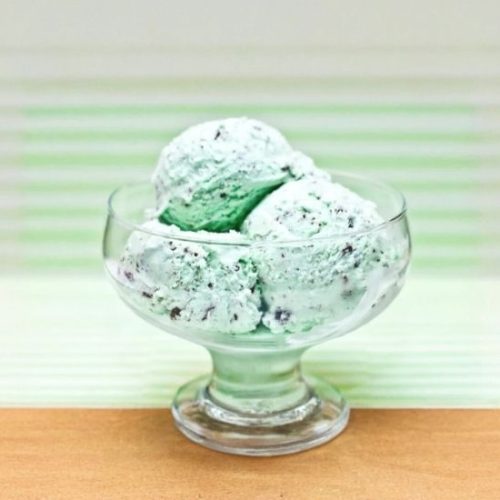
Mint Chocolate Chip Ice Cream
Equipment
- 1 Ice Cream Maker
- 1 Whisk
- 1 Mixing Bowl
- 1 Airtight Container
Ingredients
- 1 cup whole milk chilled
- ¾ cup granulated sugar
- 2 cups heavy cream chilled
- 1½ to 2 teaspoons peppermint extract adjust to taste
- 4 ounces semi-sweet chocolate finely chopped
Instructions
Step 1: Sweeten and Blend the Base
- In a large mixing bowl, whisk together the chilled whole milk and granulated sugar until the sugar is fully dissolved and the mixture appears smooth and slightly thickened.
Step 2: Add Cream and Flavor
- Pour in the chilled heavy cream and stir gently to combine. Then, add the peppermint extract, adjusting the amount to suit your preferred mint intensity. Mix well to evenly distribute the flavor throughout the base.
Step 3: Chill and Prepare to Churn
- Set up your ice cream maker according to the manufacturer's instructions. Once ready, slowly pour the prepared mixture into the machine’s freezing bowl. Start the churning process and let it run for about 20 minutes to allow the mixture to thicken.
Step 4: Incorporate Chocolate Chips
- During the final 5 minutes of churning, gradually add the finely chopped semi-sweet chocolate to the ice cream.This will ensure the chocolate chips are evenly dispersed without melting completely, giving delightful texture to every bite.
Step 5: Freeze to Firm Up
- Once churning is complete, transfer the ice cream to a freezer-safe airtight container. Seal it well and place it in the freezer for a minimum of 2 to 3 hours to allow the ice cream to set fully before serving.
Notes
- For an extra visual pop, you can add a few drops of green food coloring to the base mixture. This is entirely optional and does not affect flavor.
- Feel free to experiment with different extracts like vanilla or almond for a twist on this classic treat.
- The recipe yields approximately 1.5 quarts of ice cream—perfect for sharing or enjoying over several days.
- To achieve the creamiest texture, ensure your milk and cream are thoroughly chilled before starting.
- Store leftover ice cream in an airtight container to keep it fresh and prevent ice crystals from forming.
Chef’s Secrets for Creamy Perfection
Creating the perfect homemade mint chocolate chip ice cream relies on a few key techniques that elevate your final product.
First, chilling the milk and heavy cream thoroughly before starting is essential; this helps the mixture freeze faster during churning, resulting in a smoother texture with fewer ice crystals.
When dissolving the sugar in the milk, whisking well ensures no graininess remains, which can affect mouthfeel.
Adding the chocolate chips toward the end of the churning process preserves their texture and prevents them from melting into the base.
For a natural, vibrant color, consider omitting artificial dyes—sometimes less is more.
Finally, giving the ice cream adequate time to freeze after churning (at least 2-3 hours) allows it to firm up to the ideal scoopable consistency.
Serving Suggestions That Impress Guests
Mint chocolate chip ice cream is a versatile treat that pairs beautifully with many desserts and drinks.
Serve it on its own for a classic experience, or add a drizzle of warm fudge or caramel sauce for extra indulgence.
It also pairs wonderfully with fresh fruit like raspberries or sliced strawberries, which add a bright contrast to the creamy mint flavor.
For a grown-up twist, consider pairing it with a shot of coffee liqueur or mint schnapps.
You can also use this ice cream as a filling for milkshakes, sundaes, or layered parfaits, making it perfect for parties or casual family gatherings.
Storage Tips for Long-Lasting Freshness
Proper storage is key to maintaining your ice cream’s creamy texture and flavor.
Always transfer the churned ice cream into a clean, airtight container to prevent freezer burn and to keep unwanted odors at bay.
Press a piece of parchment paper or plastic wrap directly onto the surface before sealing the lid—this extra layer minimizes ice crystal formation.
Store the container in the coldest part of your freezer, usually at the back, to avoid temperature fluctuations.
Homemade ice cream is best enjoyed within one to two weeks for optimal freshness, but it can safely last up to a month.
When ready to serve, let it sit at room temperature for 5-10 minutes to soften slightly, making scooping easier.
Frequently Asked Questions Answered Clearly
1. Can I make this ice cream without an ice cream maker?
While an ice cream maker ensures the creamiest texture by continuously churning and incorporating air, you can make this recipe without one by freezing the mixture in a shallow dish and stirring vigorously every 30 minutes to break up ice crystals. However, the texture may be less smooth.
2. Can I substitute peppermint extract with something else?
Absolutely! Vanilla extract makes a classic chocolate chip ice cream, while almond or even orange extracts can offer exciting flavor twists. Adjust the quantity according to taste.
3. How do I prevent ice crystals from forming?
Ensure your ingredients are well chilled before churning and store the finished ice cream in an airtight container with a plastic wrap layer pressed on top.
Avoid frequent thawing and refreezing to maintain a creamy texture.
4. Can I use chocolate chips instead of chopped chocolate?
Yes, chocolate chips work well and are convenient.
For best results, choose mini chips so they distribute evenly without sinking or clumping.
5. Is this recipe suitable for vegetarians?
Yes, this recipe uses dairy and no animal-derived gelatin, making it vegetarian-friendly.
For a vegan option, substitute dairy with plant-based milks and creams and use dairy-free chocolate.
This recipe is inspired by chewoutloud and has been carefully refined to enhance clarity, streamline preparation steps, and ensure accurate results. We’ve also included health benefits, nutritional highlights, and Must-Have Tools to help you get the best results every time you cook.
