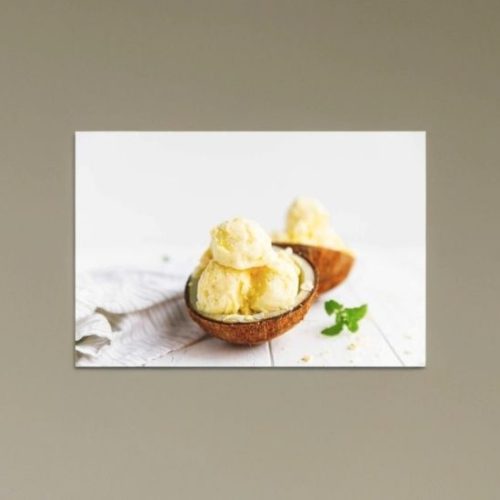
5-Minute Coconut Pineapple Ice Cream
Make a tropical, creamy dessert in just minutes with this simple, healthy Pineapple Coconut Ice Cream. Made from only two wholesome ingredients, it’s vegan, naturally sweet, and perfect for hot days or anytime you need a quick frozen treat.
Equipment
- 1 Food Processor – for blending frozen pineapple and coconut milk
- 1 Silicone Spatula – for scraping and transferring the ice cream
- 1 Ice Cream Scoop – for neat, easy serving
- 1 Freezer-Safe Container – to store the finished ice cream
- 1 Can Opener (optional) – if your canned coconut milk doesn’t have a pull-tab
Ingredients
- 4 cups frozen pineapple chunks
- 1 cup full-fat canned coconut milk
Instructions
- Break Down the Frozen Pineapple: Place the frozen pineapple chunks into a large-capacity food processor. Pulse several times to break them into smaller pieces. This step helps prevent overworking your processor and makes blending smoother in the next stage.
- Blend with Creamy Coconut Milk: Pour in the full-fat canned coconut milk. Pulse and blend the mixture in intervals, scraping down the sides as needed. Continue blending until the texture becomes smooth, thick, and creamy—similar to soft-serve ice cream.
- Serve or Freeze for Later: For immediate enjoyment, scoop and serve the soft-serve-style ice cream right away. For a firmer, scoopable consistency, transfer the mixture into a freezer-safe container and freeze for 1–2 hours, or until solid.
Notes
- Use Full-Fat Coconut Milk: For the creamiest texture and richest flavor, avoid light coconut milk. Full-fat varieties provide the necessary fat content to mimic real ice cream.
- Frozen Fruit Only: Ensure the pineapple is fully frozen before blending. Fresh fruit will result in a slushy texture instead of ice cream.
- Blender Option: If you don’t own a food processor, a high-powered blender can also be used—just add the coconut milk gradually and stir as needed to help the mixture circulate.
- Flavor Boost Ideas: Add a splash of vanilla extract, a few fresh mint leaves, or a pinch of sea salt for extra flavor depth.
- Make It Ahead: You can double the recipe and freeze in individual containers for a ready-to-eat, healthy dessert option all week long.
