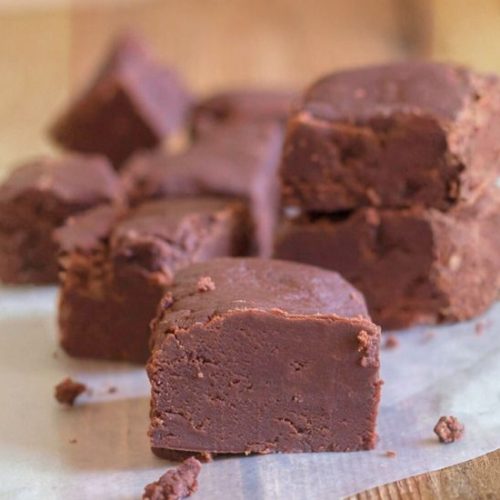
Chocolate Fudge
A nostalgic homemade chocolate fudge recipe made from simple ingredients, slow-cooked to creamy, melt-in-your-mouth perfection without artificial additives. Ideal for classic desserts, holiday gifts, or a comforting sweet treat.
Equipment
- 1 heavy-bottomed saucepan
- 1 Candy thermometer
- 1 Wooden Spoon
- 1 8-inch square pan lined with buttered parchment paper
- 1 Butter knife or sharp chef’s knife
Ingredients
- 3 cups granulated sugar
- ⅔ cup unsweetened Dutch-process cocoa powder
- ⅛ teaspoon salt increase to 1/4 teaspoon if using unsalted butter
- 1 ½ cups whole milk
- ¼ cup butter preferably salted, softened to room temperature
- 1 teaspoon pure vanilla extract
Instructions
- Prepare Your Pan: Begin by lining an 8-inch square baking pan with parchment paper. Lightly grease the parchment with butter to ensure easy removal of the fudge later.
- Combine Dry Ingredients: In a medium, heavy-bottomed saucepan, thoroughly whisk together the granulated sugar, Dutch-process cocoa powder, and salt. This ensures an even distribution of cocoa and salt throughout the sugar base.
- Add Milk and Start Cooking: Pour in the whole milk and stir gently using a wooden spoon—avoid using a whisk or metal spoon to prevent texture issues. Place the saucepan over medium heat, stirring constantly to dissolve the sugar and cocoa evenly.
- Bring to a Strong Boil: Continue stirring until the mixture reaches a vigorous boil. This typically takes about 15 minutes. The mixture should bubble strongly but not scorch on the bottom—adjust heat as needed.
- Reduce Heat and Cook Without Stirring: Lower the heat to medium-low and let the mixture simmer without stirring. Monitor the temperature carefully with a candy thermometer until it reaches 234°F (112°C), approximately 30 minutes. This stage is crucial for the fudge’s texture.
- Add Butter and Vanilla, Then Cool: Remove the pan from heat. Stir in the softened butter and vanilla extract gently, but do not stir vigorously. Allow the mixture to cool to about 110°F (43°C) at room temperature, which will take roughly 30 minutes.
- Beat to Perfect Consistency: Using a wooden spoon, beat the cooled mixture continuously for 6 to 8 minutes. You’ll notice the glossy surface start to dull and thicken—that’s when the fudge is ready to set.
- Pour and Set: Quickly transfer the beaten fudge into the prepared pan and spread it evenly. Let it cool completely at room temperature. For best results, allow it to rest overnight to firm up fully.
- Slice and Store: Once firm, cut the fudge into approximately 20 squares using a butter knife or sharp chef’s knife. Store pieces in an airtight container at room temperature for up to two weeks, refrigerate for 3-4 weeks, or freeze for up to 3 months.
Notes
- Butter Type: If you prefer unsalted butter, increase the salt to 1/4 teaspoon to balance flavor.
- Avoid Stirring During Cooking: Stirring while simmering can cause graininess. Stir only when indicated.
- Preventing Graininess: Before cooking, rub the inside edges of your saucepan with butter to prevent sugar crystals from forming on the sides. Do not scrape the sides while boiling.
- Temperature Adjustments for Altitude: For high altitudes, reduce the cooking temperature by 2°F for every 1,000 feet above sea level.
- Storage Tips: Wrap individual fudge pieces in parchment or wax paper before storing to prevent sticking.
- Troubleshooting Soft Fudge: If your fudge doesn’t set properly, gently reheat it to the target temperature and repeat the beating process. For fudge that’s too hard, warm it slightly and stir in a small amount of milk.
